Open a kiln to find a fine web of cracks across a glaze, or a bare patch where the glaze pulled away, or a scatter of tiny craters, and the temptation is to decide you failed. You did not. A glaze defect is information. Each of the common problems has a specific cause, often a small one, and once you can read the symptom you can usually fix it in one adjustment. These are the three we get asked about most at the counter, and how we work through each.
Crazing: the fine cracks in the surface
Crazing is that delicate network of cracks you see, and sometimes hear faintly pinging, in a cooled glaze. It is not the clay cracking. It is the glaze cracking because it shrank more than the clay body underneath it as the piece cooled. In the language of the craft, the glaze and body have a mismatch in thermal expansion.
The mental picture is simple: as everything cools from firing temperature, both the glaze and the clay contract. If the glaze wants to contract more than the body will allow, it goes into tension and relieves that tension by cracking. Val Cushing's widely used Cushing's Handbook and Daniel Rhodes both frame crazing exactly this way, as a fit problem between glaze and body, not a flaw in either one alone.
How to address it:
- Confirm the glaze and clay body are rated for the same cone and were fired to it. A surprising amount of crazing is simply a mismatch.
- Try a different clay body. A body with slightly higher silica often improves fit.
- For studio glaze mixers, lowering the glaze's expansion, often by adjusting the high-expansion fluxes, brings it into fit. This is chemistry, and for commercial glazes the simpler path is switching to a clear or color rated for your body.
- Crazing on functional ware matters beyond looks. A crazed surface can harbor bacteria and weakens the piece, so for food ware it is worth solving, not living with.
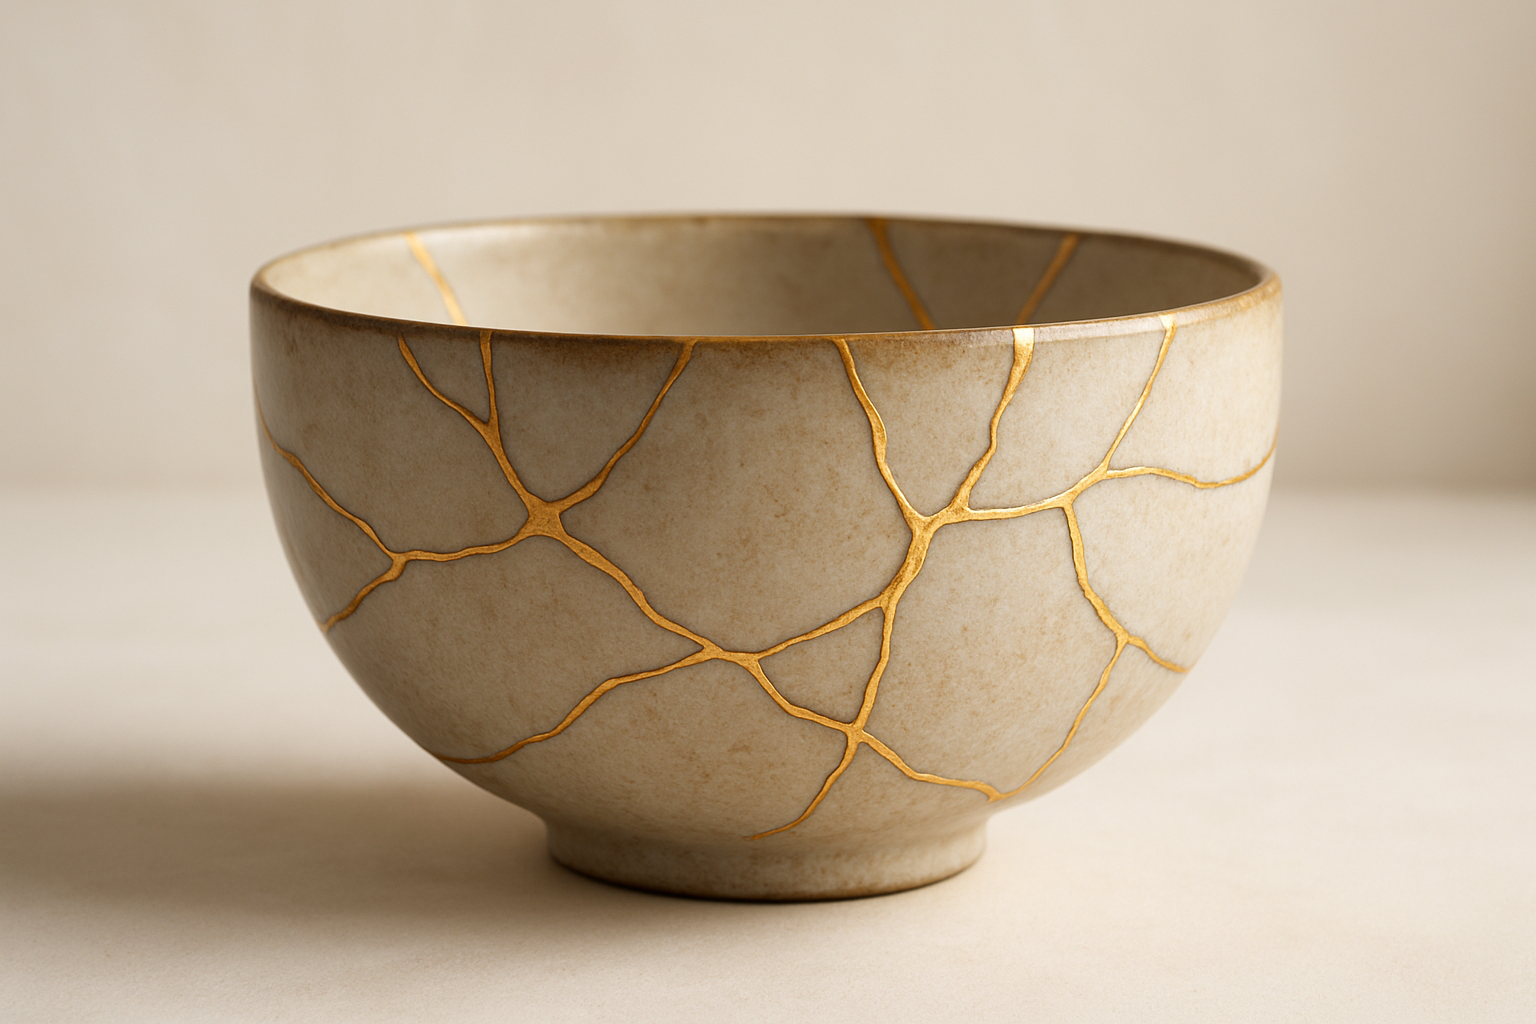
There is a flip side worth naming. The Japanese tradition of celebrating cracks and repair, seen in kintsugi and in the wabi-sabi appreciation of imperfection, reminds us that crazing is sometimes deliberate and beautiful. Crackle glazes craze on purpose. The point is that you should decide whether the craze is there by choice or by accident.
Crawling: where the glaze pulls away
Crawling is when the glaze beads up and pulls back during firing, leaving bare clay exposed, sometimes with thick rolled edges around the gap. It looks dramatic, but the cause is almost always about what happened before the firing, not during it.
The usual culprits:
- Dust, oil, or grease on the bisque. A fingerprint or a dusty pot keeps the glaze from bonding, and it retreats from those spots in the melt. Wiping bisque with a clean damp sponge before glazing prevents a lot of crawling.
- Glaze applied too thickly. A heavy coat shrinks more as it dries and can crack before firing, and those cracks open into crawls in the kiln.
- Glaze applied over an unfired underglaze that was too thick or dusty.
- Some high-clay glazes shrink a lot on drying and are prone to it; adjusting the recipe or application solves it.
The fix is usually mechanical and simple: clean bisque, appropriate glaze thickness, and not glazing over a dusty or greasy surface. When a maker brings us a crawling problem, the first thing we ask is how the bisque was handled before glazing.
Pinholing: the tiny craters
Pinholing is a scatter of small holes or pits in an otherwise smooth glaze, like the surface popped tiny bubbles and did not heal over. It comes from gases escaping through the glaze during firing after the glaze has already started to set, so the holes do not have time to smooth back out.
Where the gas comes from, and how to stop it:
- Firing too fast, especially through the bisque or the later glaze stages. Slowing the climb, and adding a short hold or soak near top temperature, gives bubbles time to rise and heal. This single change fixes a large share of pinholing.
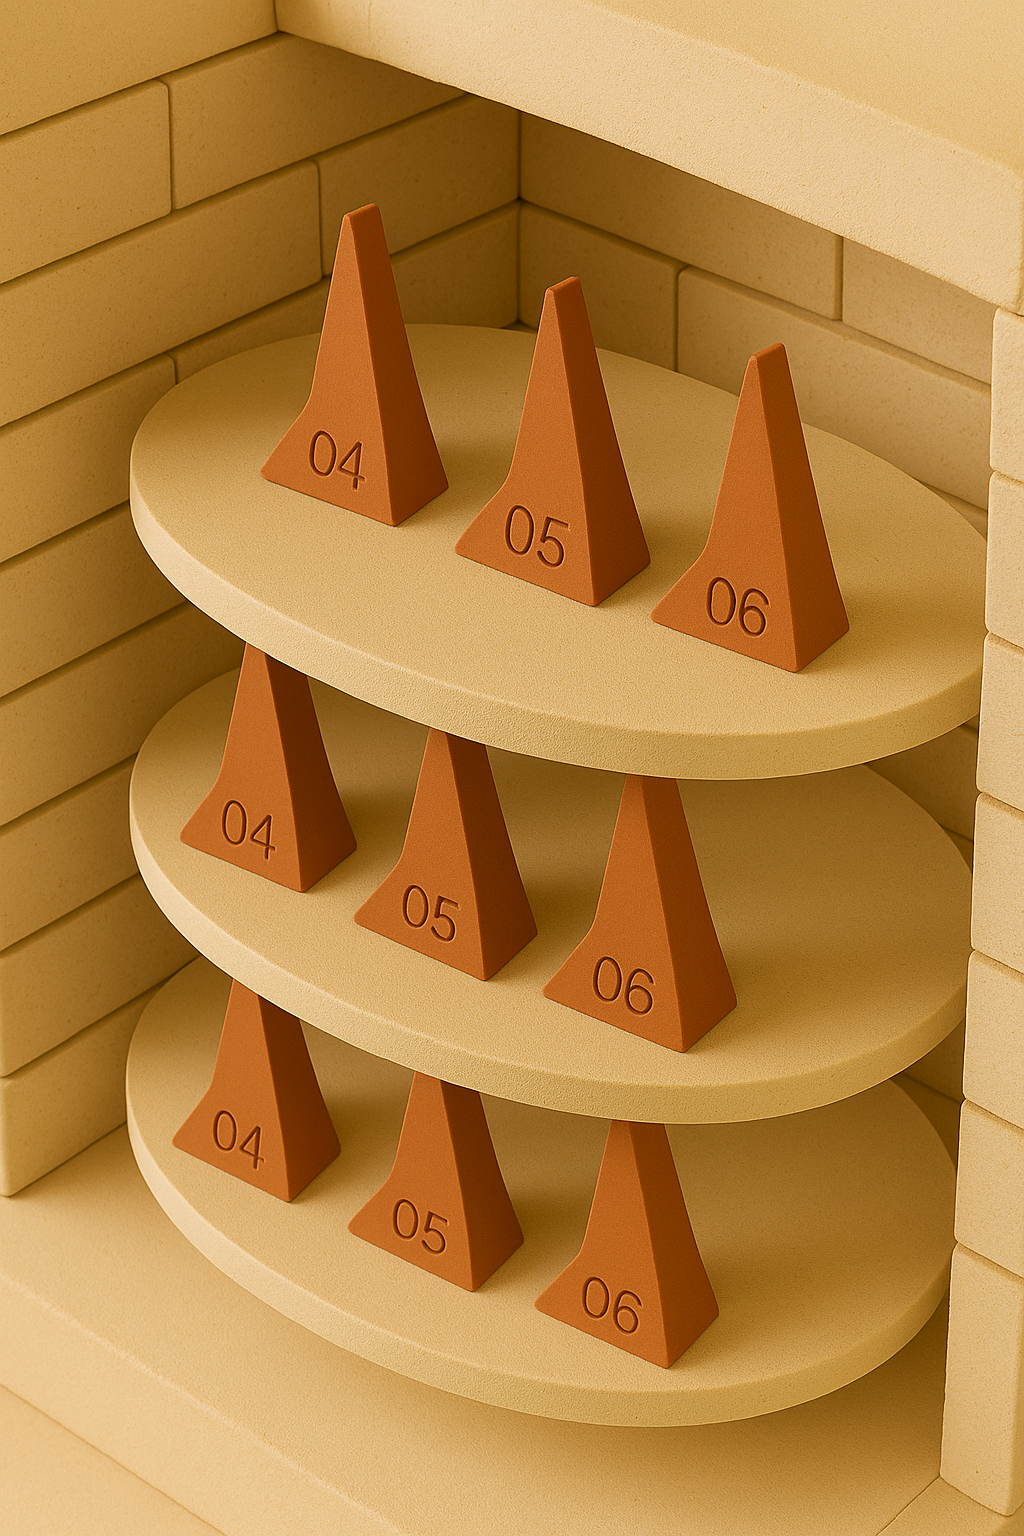
- Underfiring. If the glaze never fully reaches maturity, it cannot flow enough to close over escaping gas. Verify with witness cones that you actually hit the cone.
- Bisque firing too low, leaving organics and carbon in the clay that then burn out during the glaze firing and bubble through the glaze. A proper bisque solves this.
- Glaze applied too thick over a porous body can also trap air.
A controlled cool and a soak are the studio potter's best friends here, which is one more argument for the digital controllers we recommend on any serious kiln.
A diagnostic habit worth building
The makers who rarely fight these problems all share one habit: they change one thing at a time and they write it down. A firing log that records the clay body, the glaze, the application, the schedule, and the result turns a mysterious defect into a solvable equation. Pair that log with witness cones on every shelf, as we covered in our kiln-uniformity guide, and most surface problems stop being mysteries.
When to bring it to us
Some defects are not glaze problems at all, they are kiln problems wearing a glaze costume. Persistent pinholing or uneven results across shelves can signal aging elements, a drifting thermocouple, or poor venting, the kind of thing our kiln service exists to diagnose. If you have changed your glaze, your application, and your schedule and the problem persists, bring us a few of the affected pieces and your firing log. Reading the evidence is exactly what we love doing, and it is usually faster with the work in hand.