
Every fall we help Texas art teachers turn a room full of boxes into a working ceramics classroom, and every spring we help others rescue a program that was set up without the right guidance. The two situations have taught us the same lesson: a school ceramics program is its own kind of studio, and the things that make a home studio work are not always what makes a classroom work. A classroom has thirty pairs of hands, one kiln, a fixed schedule, a real budget, and safety requirements that are not negotiable. We help you build one that lasts.
Start with the kiln, and get the electrical right first
The kiln is the heart of the program and the part schools most often get wrong, almost always on the electrical side. As we cover in our kiln buying guide, most classroom kilns need a dedicated 240V circuit, and according to Skutt and L&L specifications a typical mid-size unit draws in the 40 to 50 amp range. The single most common delay we see is a kiln that arrives before the district's facilities team has run the circuit.
Before anything ships, loop in your facilities or maintenance department and confirm three things: the dedicated circuit, the breaker capacity, and the venting. For a classroom, venting is not optional. A downdraft vent protects air quality during firing, when organics and sulfur burn off, and it extends the life of the elements and thermocouple. Get the room ready first, then bring in the kiln.
Buy a kiln with headroom and a digital controller
For a classroom we steer teachers toward a kiln rated above the cone they fire, for the same reason as any studio: elements last longer when they are not maxed out every load, and a busy school kiln fires a lot. A classroom needs a digital controller. It lets you program a firing, walk away to teach, and trust that it will fire the same ramp to the same cone every time. Repeatability is what keeps a program sane.
Choose materials engineered for a classroom, not adapted to one
Classroom setup really differs from a home studio here. With thirty students and variable conditions, you want materials formulated for predictability.
For glazes, the AMACO Teacher's Palette lines were built specifically for this, predictable, blendable like paint so students can mix intermediate colors, and consistent in the variable conditions of a school kiln. For decorating and low-fire work, Mayco Stroke & Coat is the classroom standard precisely because it looks the same fired as it does in the jar, which removes the disappointment of a color coming out nothing like what a student painted. When students get the result they intended, they stay engaged.
For clay, match the body to your firing range and your students. Many programs run a low-fire body at cone 04 for younger or beginning students, where the faster, lower firing and bright commercial glazes suit the work. Programs with older or more advanced students often add a cone 6 stoneware. Whatever you choose, the body and glaze must share a cone, and we will keep you on the same number.
Tools: outfit with sets, not a pile
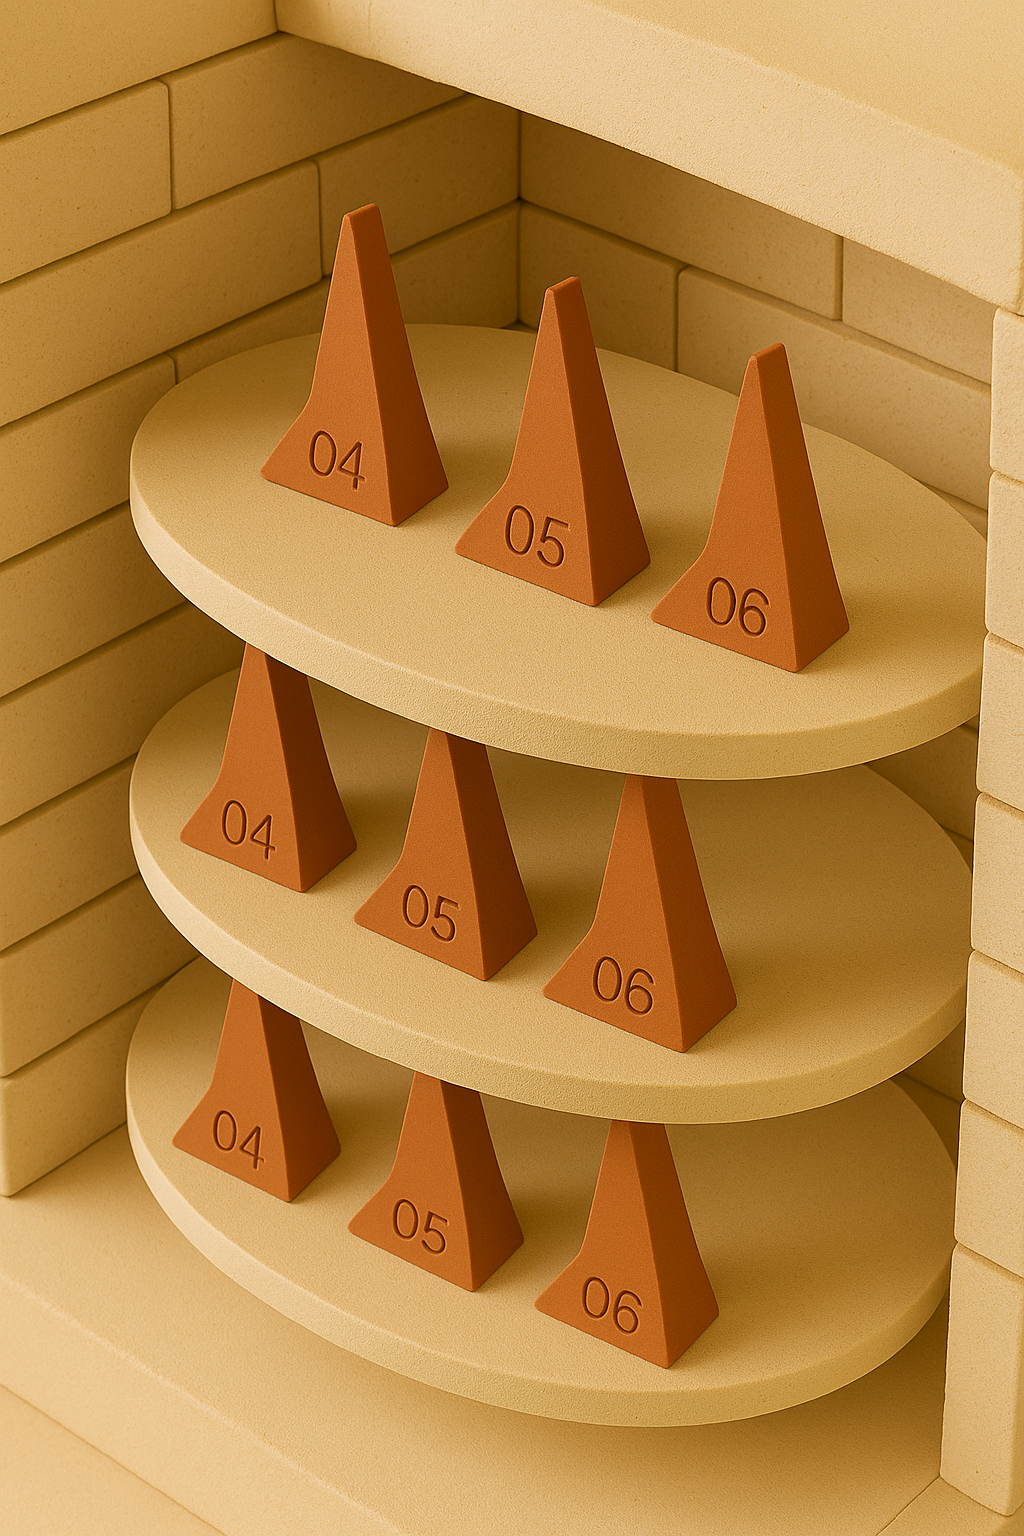
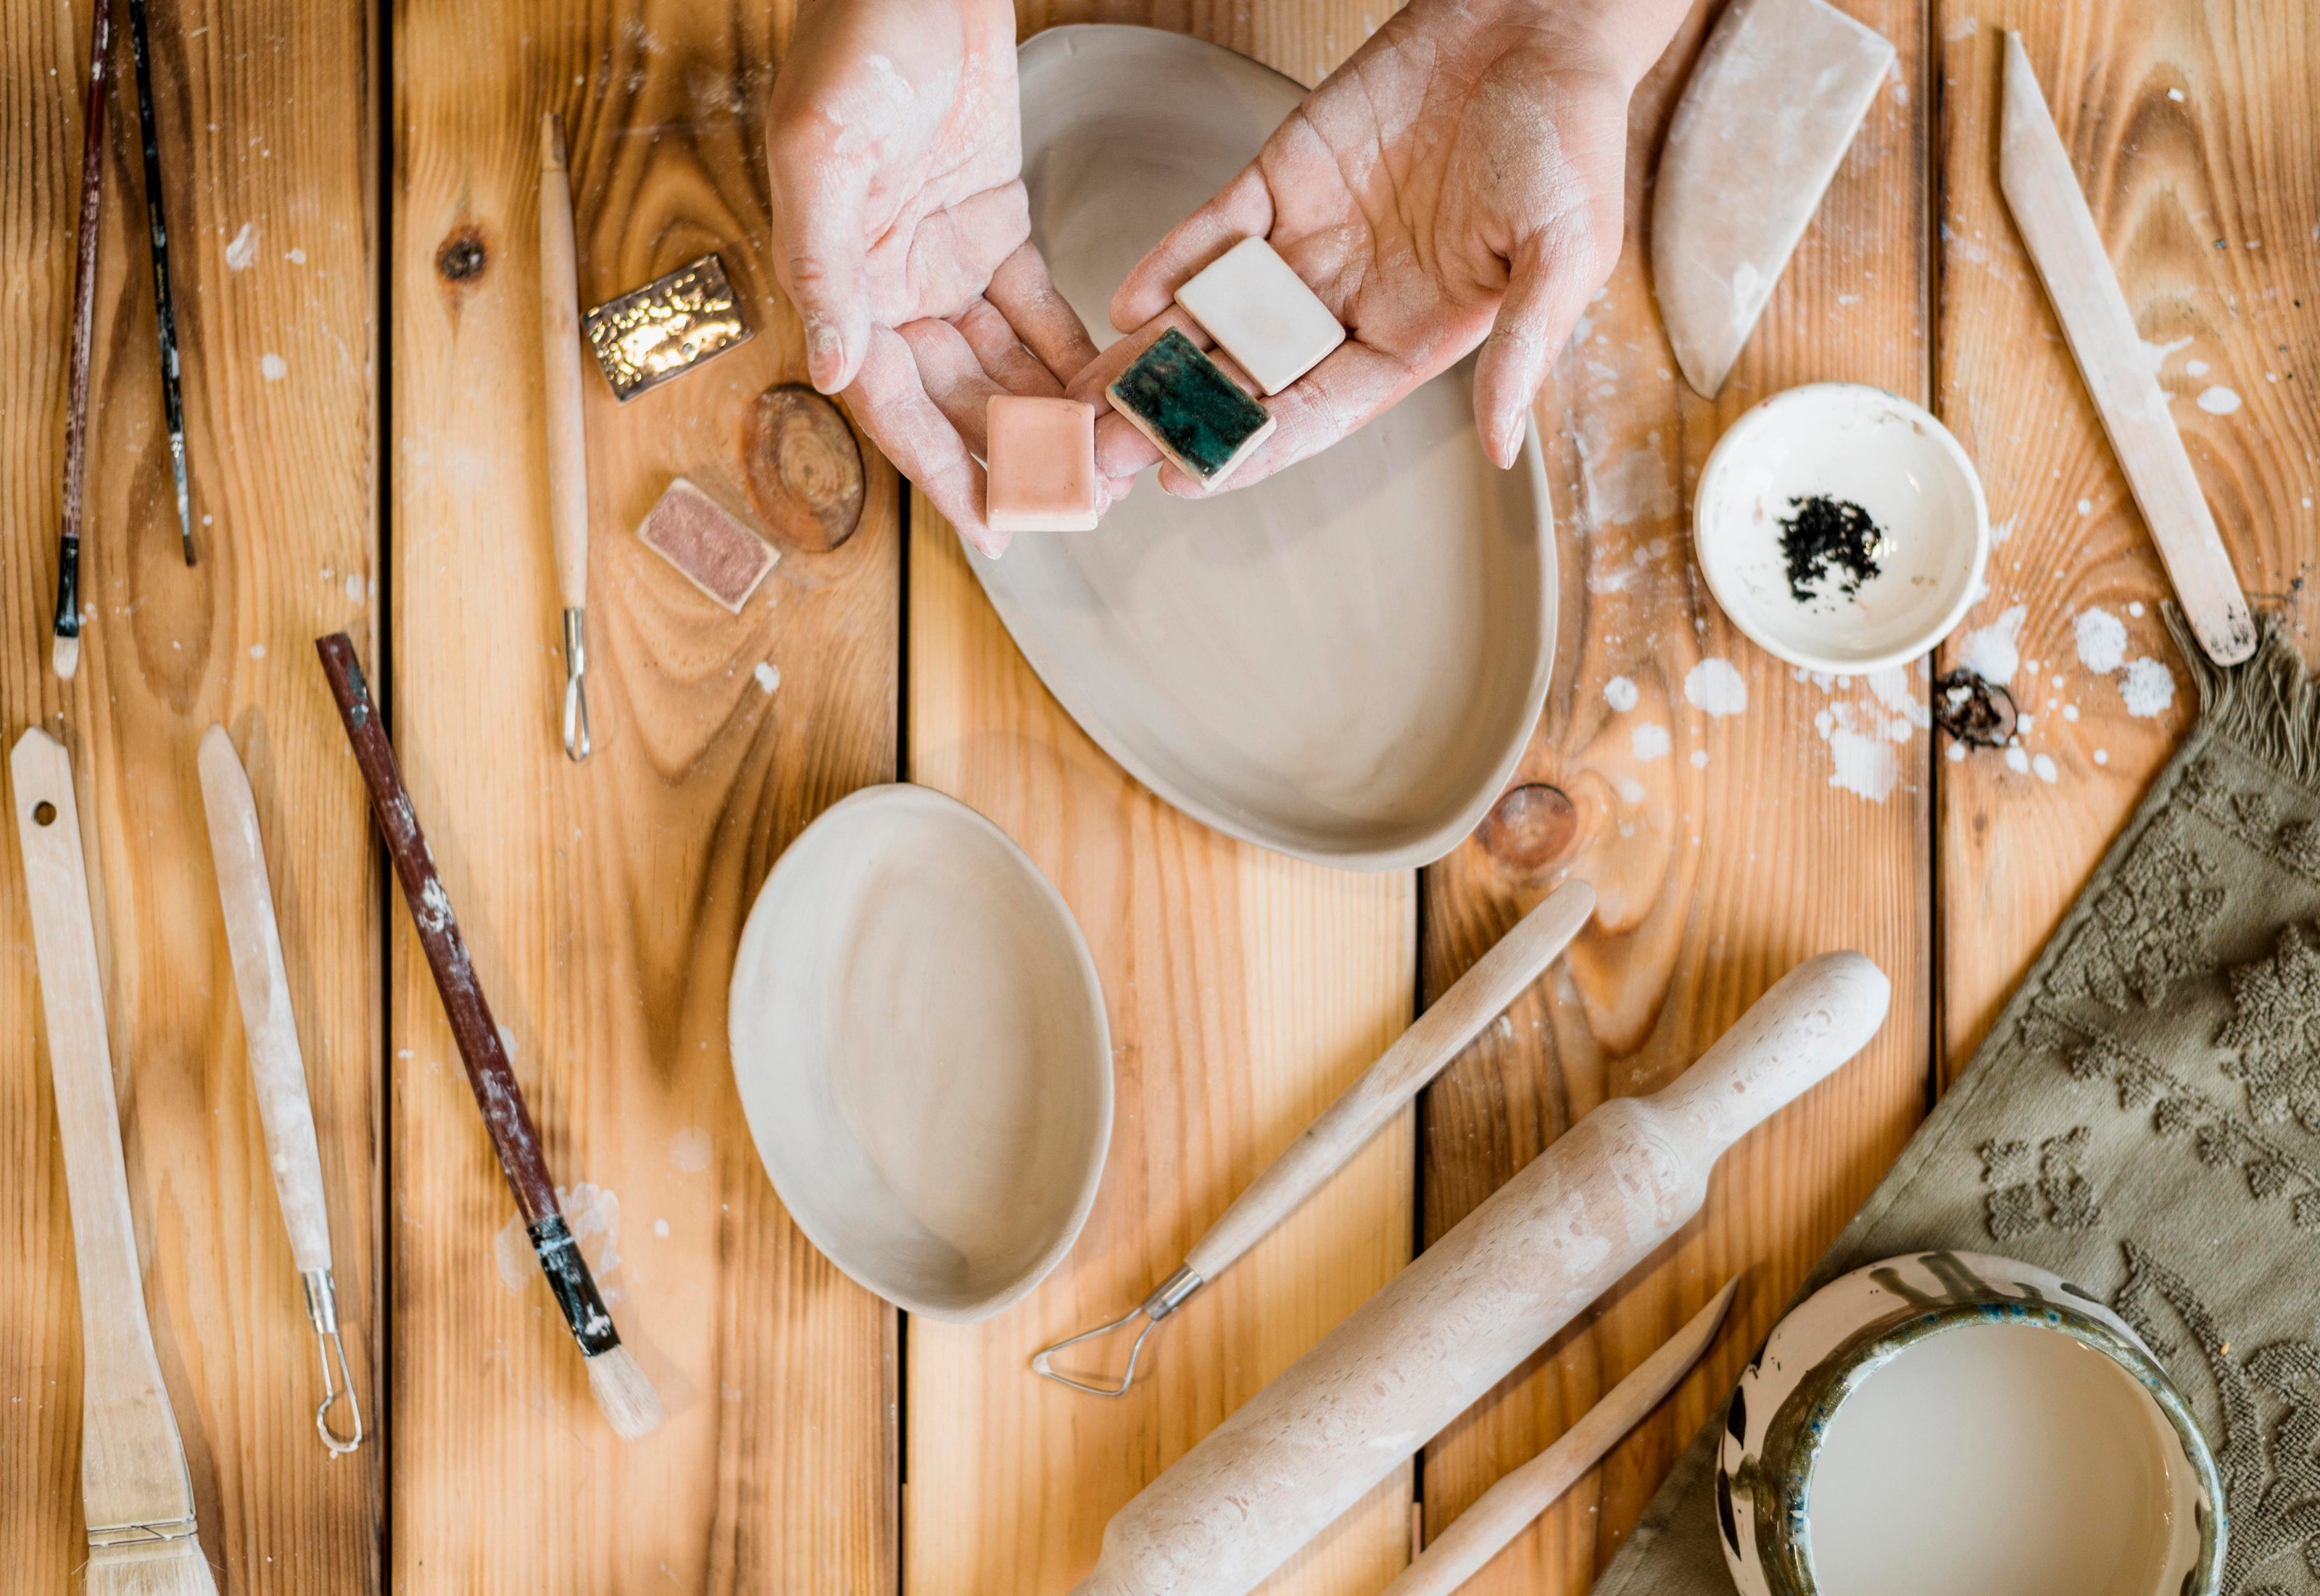
A classroom runs better when every student has a complete, identical tool set rather than fighting over a shared bin. It prevents the lost-tool chaos that eats studio time, and it means every student can do every step of a lesson. We assemble starter tool sets exactly for this, and we keep the consumables a program burns through, sponges, witness cones, stilts, and brushes, in stock so a reorder is quick.
Do not forget witness cones. A pack on each kiln shelf is cheap insurance, and reading them after a firing is itself a wonderful teaching moment about heatwork.
Build a firing rhythm the schedule can hold
A home potter fires when they feel like it. A classroom cannot. Build a firing schedule that fits the bell schedule and the academic calendar: when bisque firings happen, when glaze firings happen, and how long a piece takes from wet to finished so students are not waiting weeks past the end of a unit. A digital controller and a consistent clay-and-glaze system make this rhythm predictable, which is what lets you actually plan a semester around it.
Lean on the support that is built for teachers
The part national catalogs cannot offer is the one we are proudest of. We work with Texas art teachers through TAEA classes, in-service days, and continuing-education sessions, all built around the realities of a classroom rather than a studio. We also provide onsite training to launch a new program: how to load and fire the kiln safely, how to read cones, how to get the glaze results you planned, and how to set up a room flow that works for thirty students.
That first onsite session is often what turns a delivery of equipment into a functioning classroom. A teacher who is confident loading and firing the kiln runs a calmer, safer, more ambitious program, and the students feel it.
A setup checklist for a new program
- 1.Confirm dedicated 240V circuit, breaker capacity, and venting with facilities, first
- 2.Choose a kiln with headroom and a digital controller
- 3.Pick a clay body and glaze lines that share a firing cone
- 4.Use classroom-engineered materials: Teacher's Palette and Stroke & Coat
- 5.Outfit students with complete, identical tool sets, plus witness cones
- 6.Build a firing rhythm that fits the school calendar
- 7.Schedule onsite training and tap TAEA and in-service support
We have walked dozens of Dallas-Fort Worth programs through exactly this, from a single new kiln in an existing art room to a complete build-out for a brand-new school. If you are standing in an empty room wondering where to start, or inheriting a program that never quite worked, that is precisely the conversation we want to have. Reach us through our education page or call us at 817-535-2651, and let us help you build a program that holds up year after year.