If we could put one idea into every new potter's head before they bought a single bag of clay, it would be this: in ceramics, the number that matters is the cone, not the temperature. Almost every mismatched, cracked, or under-vitrified piece we get asked about comes back to someone treating those two things as the same. They are not.
What a cone actually measures
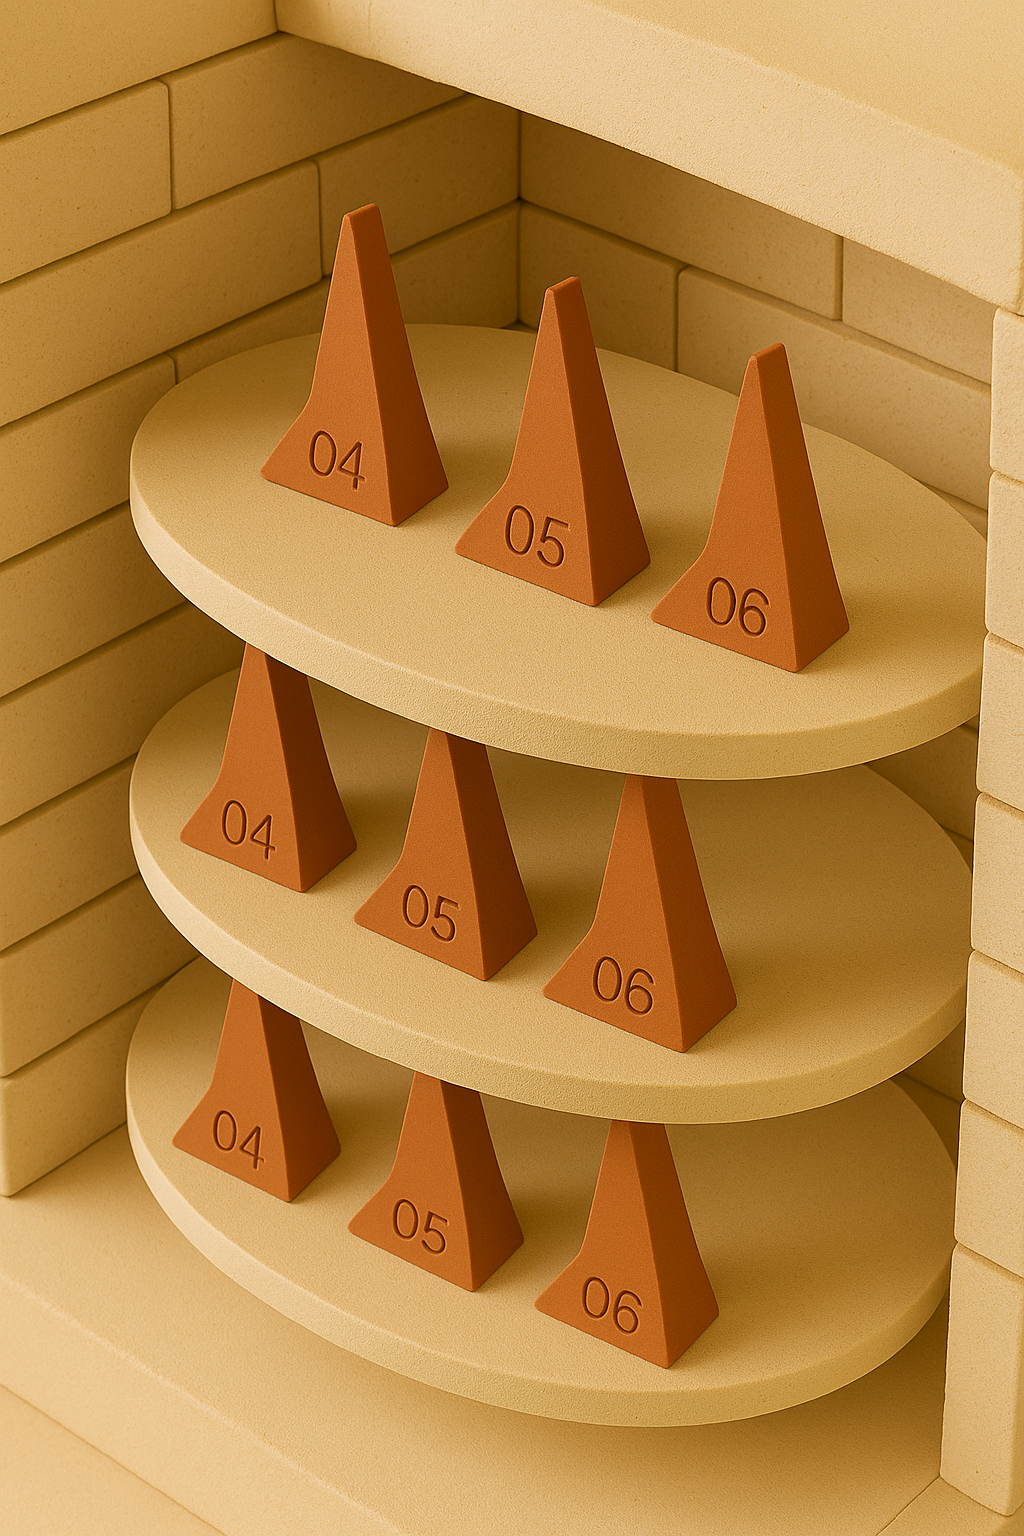
A pyrometric cone is a small, carefully formulated pyramid that bends at a known point of heatwork. Heatwork is the combination of how hot the kiln got and how long it stayed there. The Orton Ceramic Foundation has manufactured these cones for more than a hundred years, and the principle is beautifully simple: a material does not care only about peak temperature, it cares about the total heat energy it absorbs over time.
This is why two kilns that both reach 2,000°F can produce different results. If one climbed there in five hours and the other crawled there in ten, the slower kiln delivered more heatwork, and a cone in that kiln will bend further. The cone reports the true experience of the clay and glaze, which a thermocouple reading peak temperature alone never can.
The numbers you actually need
Cone numbering confuses everyone at first because it runs in two directions. The cones with a zero in front, like 022 up to 01, are the low-fire cones, and counterintuitively the bigger the number after the zero, the cooler the firing. Then the numbering flips: cone 1 through cone 10 and beyond are the high-fire cones, and there the bigger the number, the hotter.
For the work most DFW studios and classrooms do, three numbers cover almost everything. Using Orton's published self-supporting cone temperature equivalents at a normal ramp:
- Cone 04, around 1945°F, the standard low-fire range for earthenware and bright commercial glazes
- Cone 6, around 2232°F, the mid-range where most studio stoneware and porcelain vitrify
- Cone 10, around 2345°F, traditional high-fire stoneware and reduction work
Low-fire versus mid-range is the decision
For a long time, serious studio pottery meant cone 10, often in a gas kiln. That has changed. Over the last two decades, mid-range cone 6 firing in electric kilns became the studio standard, and the glaze chemistry caught up. John Britt's book Mid-Range Glazes documents how thoroughly cone 6 has matured into a range that gives rich, durable, functional surfaces without the cost and complexity of high-fire reduction. For most studios opening today, cone 6 is the sensible center of gravity.
Low-fire at cone 04 still has a strong place, and not only in classrooms. It fires faster, uses less energy, and the commercial glaze palette is enormous and reliable. Mayco Stroke & Coat, for example, is a low-fire workhorse that looks nearly the same fired as it does in the jar, which is exactly why teachers love it for thirty students who need predictable results.
Why the body and the glaze must share a cone
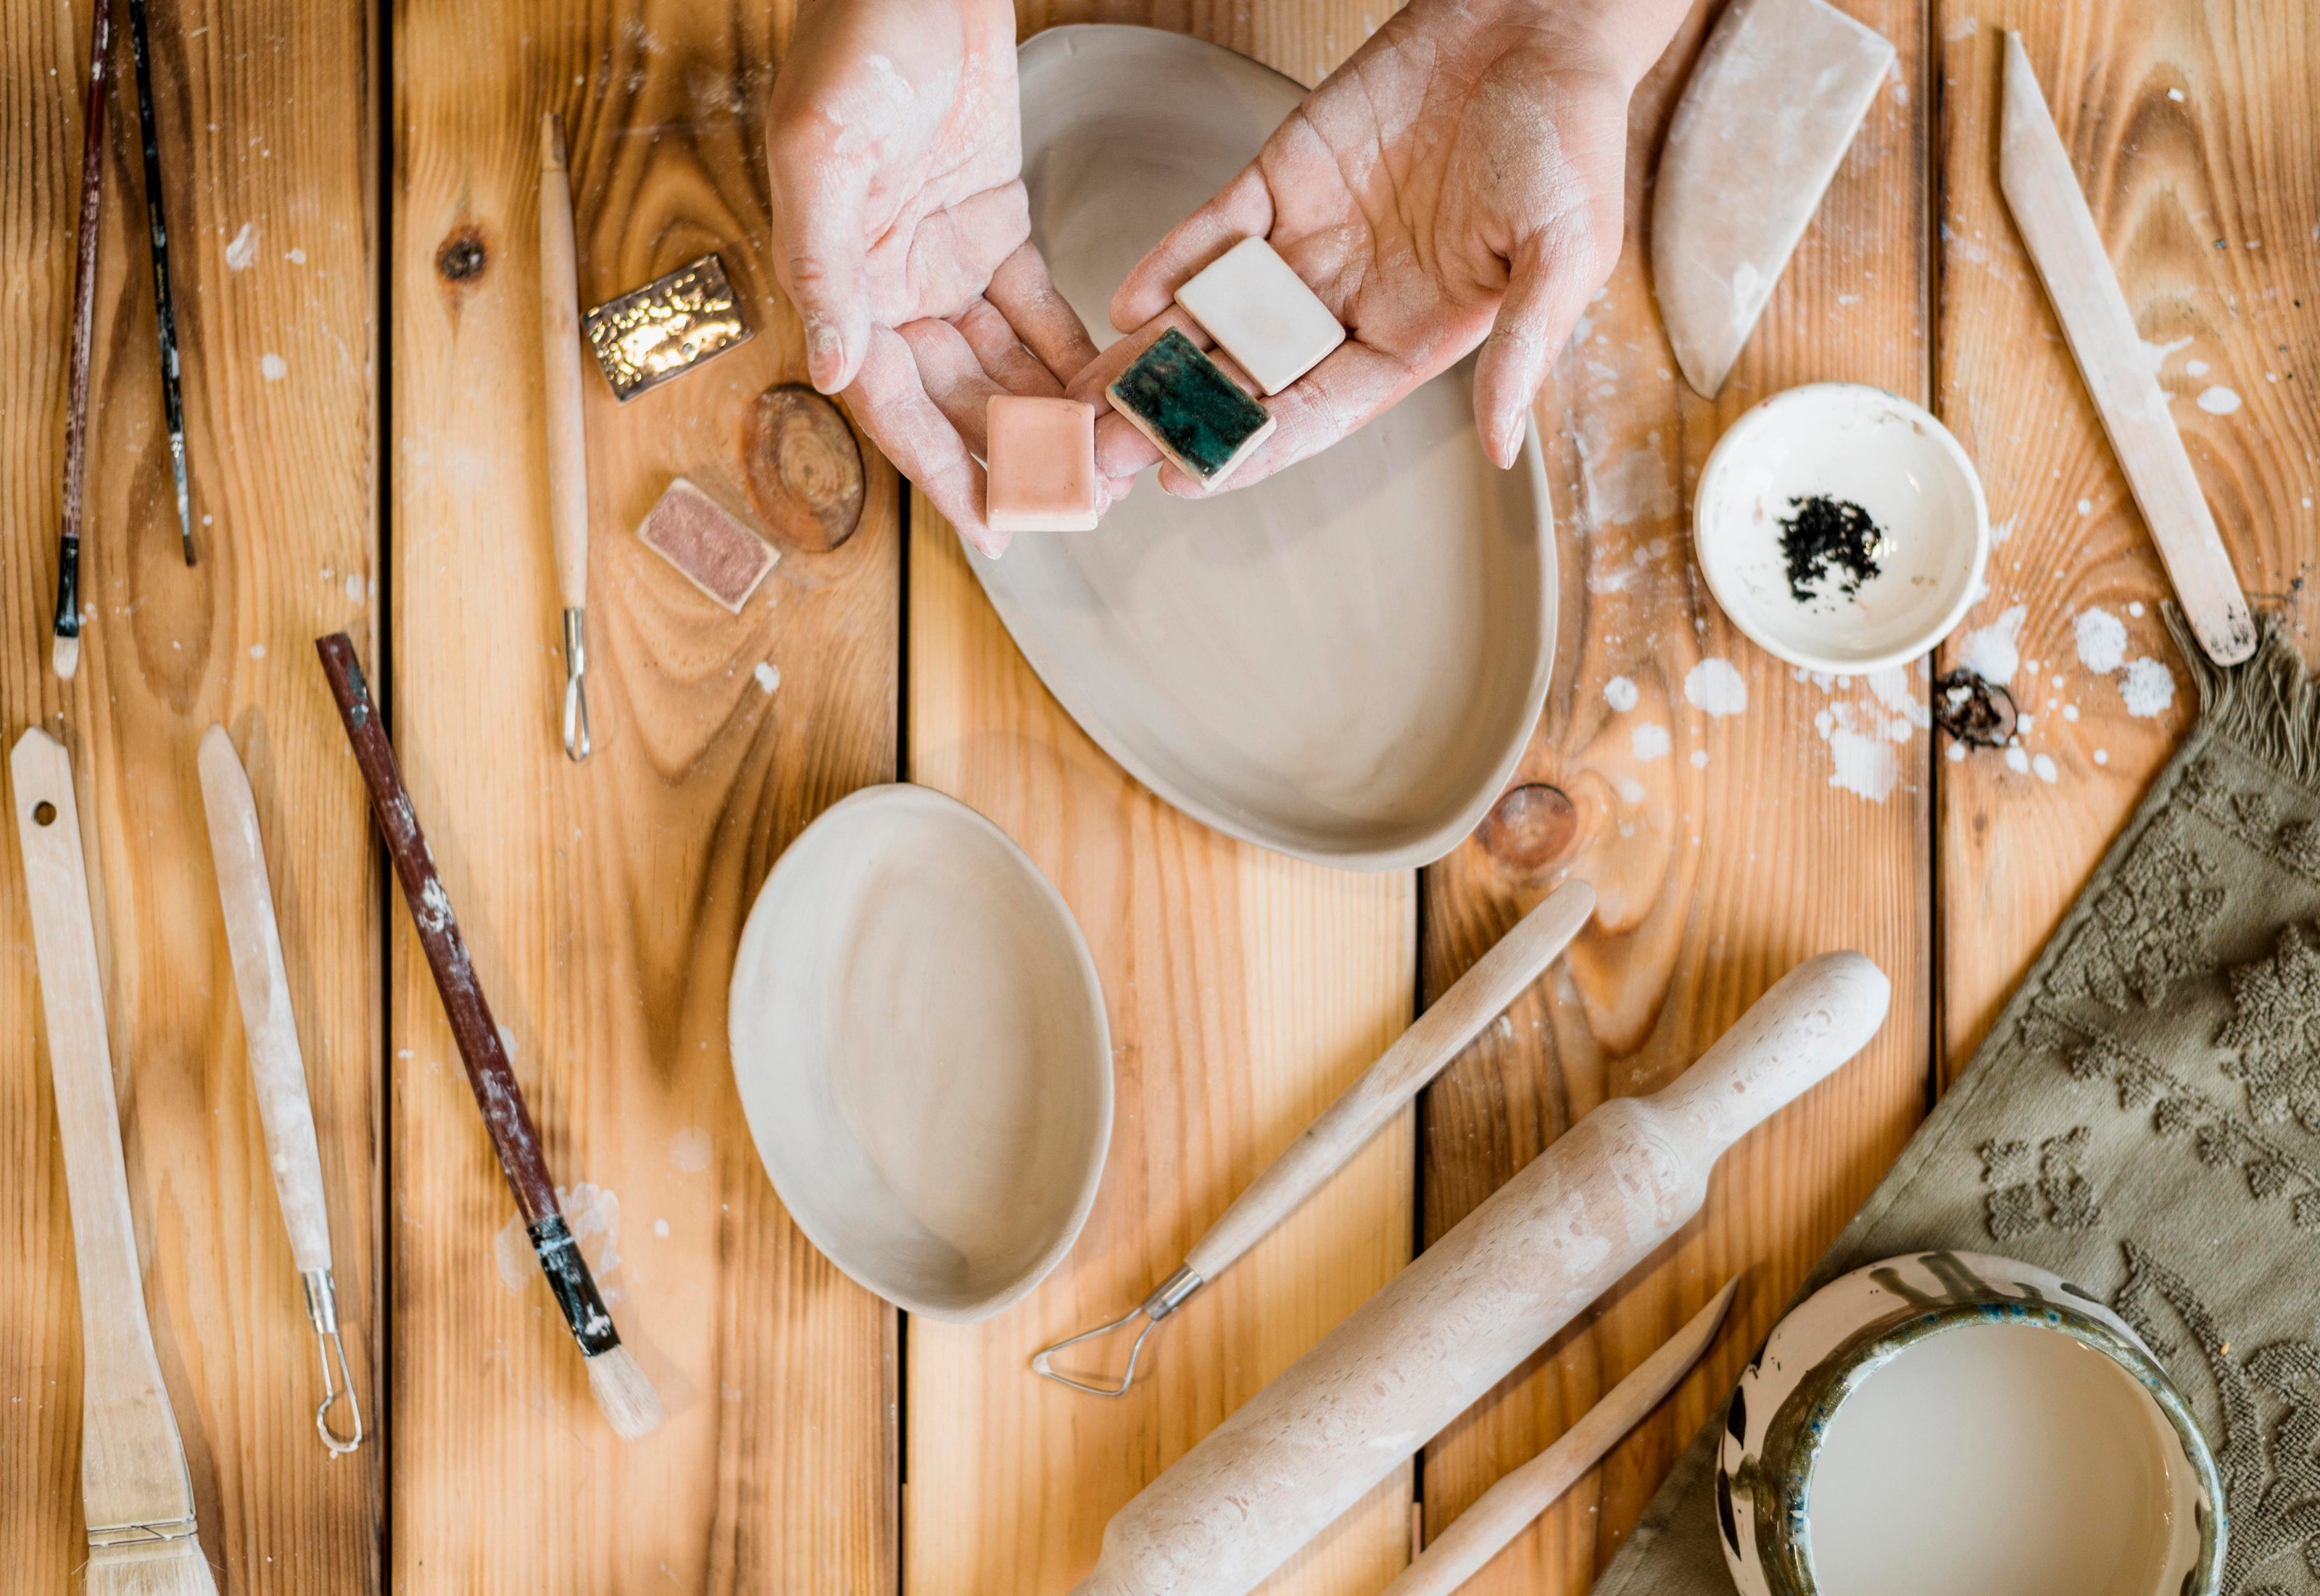
The practical heart of the matter is also where most of the heartbreak starts. Your clay body and your glaze have to mature at the same cone. They are a system.
If you put a cone 6 glaze on a cone 04 body and fire to cone 6, the clay is being pushed far past where it was designed to go and may bloat, slump, or warp. If you put a cone 04 glaze on a cone 6 body and fire to cone 6, the glaze is wildly overfired and will run off the pot onto your shelf. Even when nothing dramatic goes wrong in the kiln, a mismatch shows up later as crazing, that fine network of cracks in the glaze surface, because the clay and glaze contract at different rates as they cool.
Daniel Rhodes made this point decades ago in Clay and Glazes for the Potter, and it has not stopped being true: a glaze fits a body or it does not, and fit is a function of firing them together as designed. When someone brings us a crazing problem, the first question we ask is whether the body and glaze were rated for the same cone. Often they were not.
Vitrification, and why it matters for function
Firing to the right cone is also what makes functional ware actually functional. As clay reaches maturity it vitrifies, the particles fuse and the body becomes dense and far less porous. A cone 6 stoneware mug fired properly to cone 6 holds coffee without seeping. The same body underfired to cone 04 is still porous, will absorb liquid, can weep through the foot, and is structurally weaker. For anyone selling functional pottery, hitting the cone is not an aesthetic choice, it is a quality and safety standard.
How to actually know you hit the cone
The controller's display tells you the temperature it sensed. It does not tell you the heatwork your shelves received, and as we covered in our kiln-uniformity guide, those can differ from top to bottom. The fix is cheap and old-fashioned: put witness cones on each shelf and read them after the firing. A bent cone is physical proof. When the cone you targeted is bent to the proper angle, you know the ware on that shelf reached maturity, controller display or not.
A simple way to keep it all straight
- 1.Decide your firing range first, usually cone 6 for studio stoneware or cone 04 for classroom low-fire
- 2.Buy a clay body rated for that cone
- 3.Buy glazes rated for that same cone
- 4.Fire to that cone, verified with witness cones
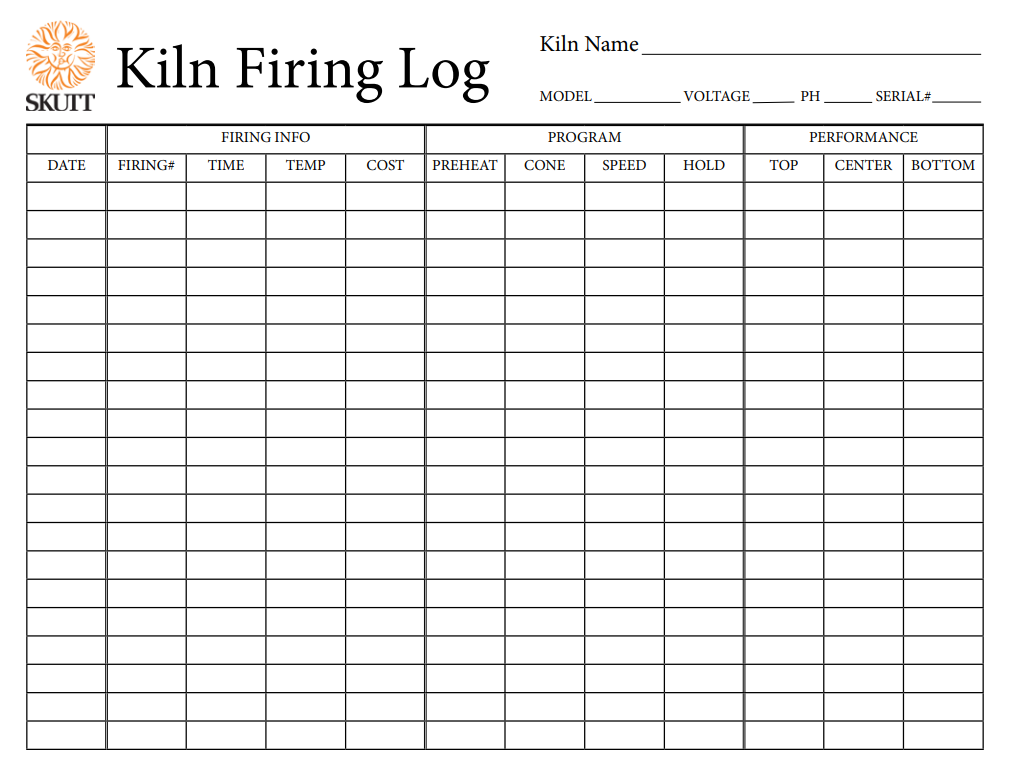
- 5.Keep a firing log so you can spot drift over time
That is the whole discipline. It sounds rigid, but it is what turns firing from a gamble into a craft you control. If you are choosing a clay body and a glaze line and want to be sure they will live happily together at the same cone, that is exactly the conversation we have at the counter every day. Tell us what you make and how you fire, and we will keep your whole system on the same number.